Sunday, January 08, 2006
Bachelor Kitchen Recipe
Winter weather brings a number of flying opportunities and challenges. On the plus side, the cold dense air enhances airplane performance, and the lower humidity can provide for spectacular visibility. However the short daylight hours mean that there is less time available to enjoy those views, and for the newly minted instrument pilot, the threat of icing limits airborne adventure to comfortably VFR days.
As I considered the weather forecast for the two long holiday weekends at the close of 2005, I realized that flying opportunities were not going to be abundant and that I was going to need to find another way to satisfy my aeronautical longings. Fortunately, airplane ownership is never wanting for projects in need of a few weekends to spend. And some of them can be done indoors, out of the weather. I had long been unhappy with the looks of the insides of Yellowbird's engine compartment. Thirty years had left the unpainted aluminum in shabby condition, and I had been considering cleaning and hopefully repainting the insides of the engine cowlings. For this I would need some time, which I was going to have, and a relatively clean place to work. Having a bachelor kitchen was for once, an advantage.
Ingredients:- One Nose of Yellowbird
- Assorted Scotch-Brite® pads
- One reversible electric drill
- One Dremel Moto-Tool®
- Several sheets of wet/dry sandpaper
- One Alodine Touch-n-Prep applicator
- A few pinches of zinc chromate primer
- Several dashes of gloss acrylic lacquer
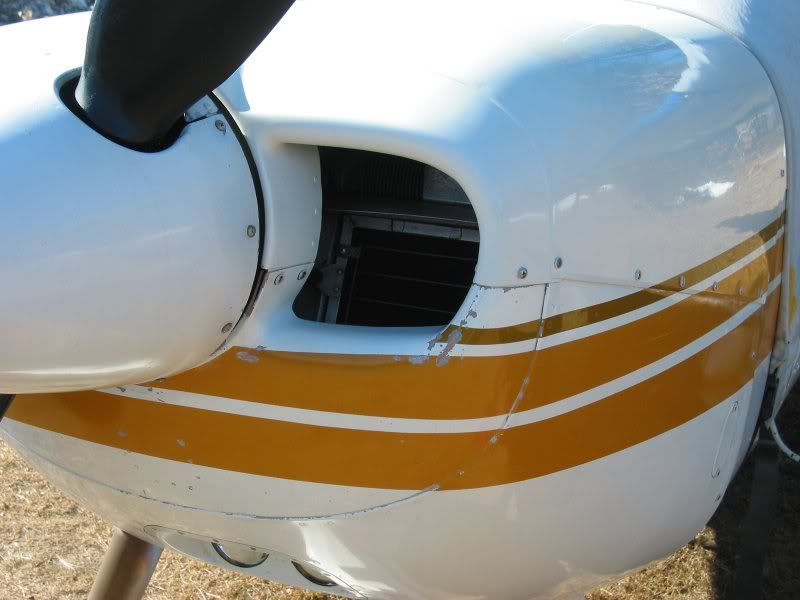
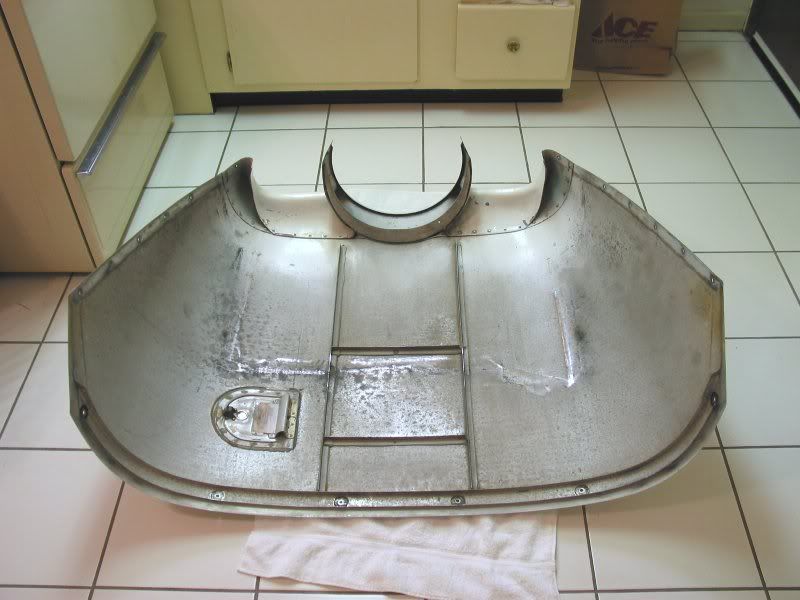 Here we have 30 years of baked-on mess. This includes old oil, paint overspray from the last time the cowl was painted in 1991, and varying degrees of surface corrosion. The corrosion is the real villain, as if left unchecked, it can compromise the structural integrity of the cowling.
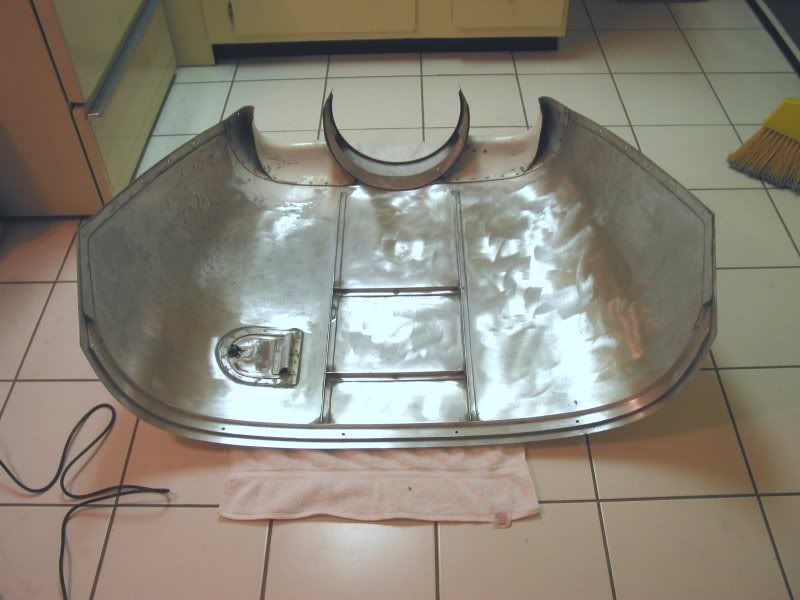 1. Scrub Yellowbird nose vigorously with Scotch-Brite® pads until desired finish is achieved.
I used a couple of 5" disks mounted in an electric drill for most of the work, a few hobby sized wheels in the Dremel for the corners, and some hand pads to even things out. This was the messiest part of the project, and it warranted a thorough cleaning of the kitchen afterwards. I celebrated by cooking up a large batch of spaghetti.
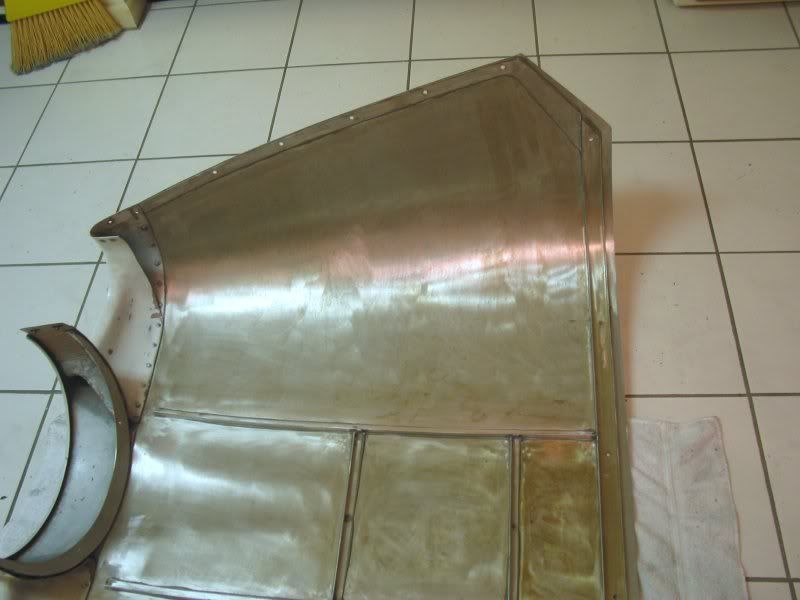 2. Apply Alodine Touch-n-Prep until golden brown.
I really should have picked up a quart of the stuff and applied it with a sponge, but I had the Touch-n-Prep applicator left over from a touch up project from 2004, so this was a good excuse to use it up. I didn't get a very even coat, but it covered the whole area.
 3. Apply sufficient primer to cover all surfaces evenly.
Here we are, after a couple of coats. It took a third coat to satisfy my eye. I left it to sit with a space heater close by to speed the curing process, then rubbed it down with more Scotch-Brite® pads to prepare for painting.
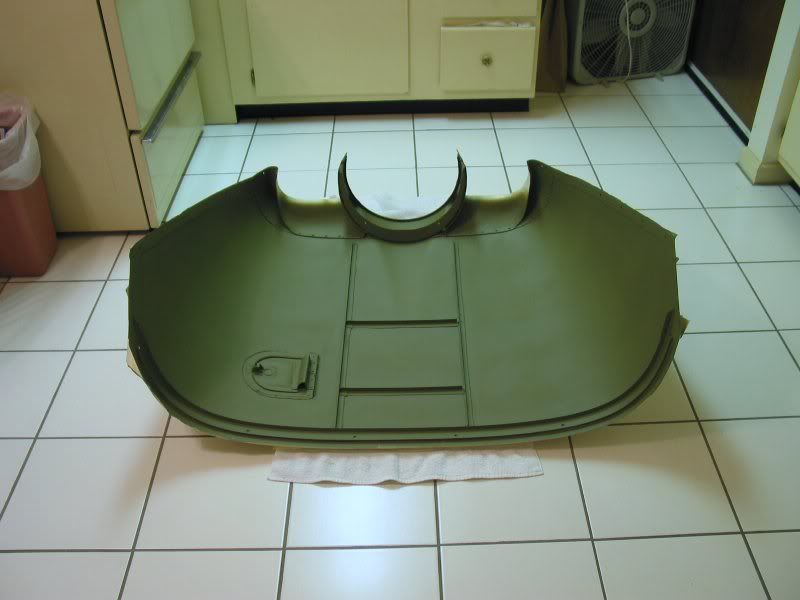
 4. Apply finish coats until an even color is achieved.
Two and a half coats later, it's starting to look like proper engine room. Again, I let it sit with the space heater to cure the paint between coats, and a few quick swipes with the sandpaper took care of any rough spots. One more coat, and I was happy.
I wasn't originally planning on repainting the outside, but the inside now looked so nice that it put the old paint to shame. The cowl may have been repainted in the early 1990's (the logbook entry is a little vague on what was repainted) and I touched up some spots where corrosion was setting in around the cowl fasteners in mid 2004. The result was a patchwork of mismatched paint, on top of the usual dings and scratches. I had the New Year's weekend to look forward to, and with an empty social calendar, I decided to extend the scope of my project.
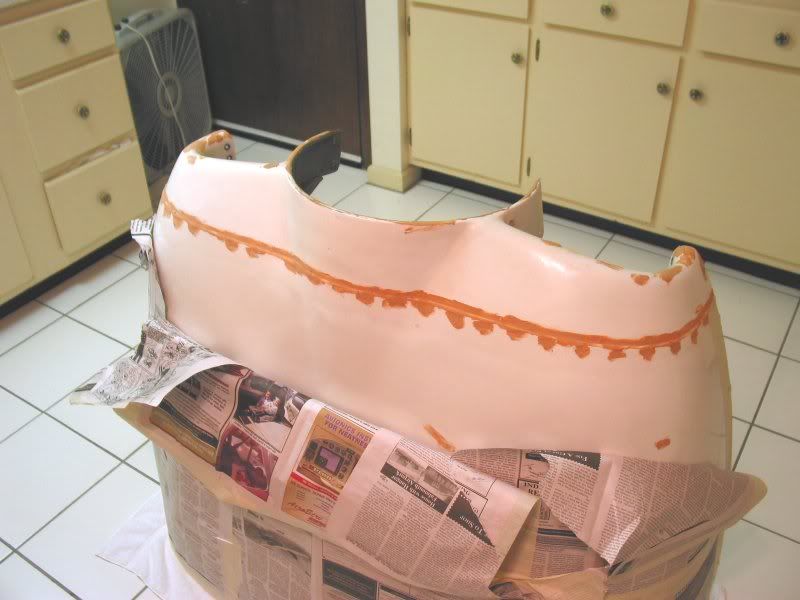 Yellowbird - my Bondo Buddy. Or more precisely, my Aeropoxy Amigo. The first step was to fill the many small scrapes and dents, particularly in the fiberglass nosebowl. I used Aeropoxy two-part filler, which is supposed to be flexible enough to handle some vibration. We'll see how well it likes being so close to the prop.
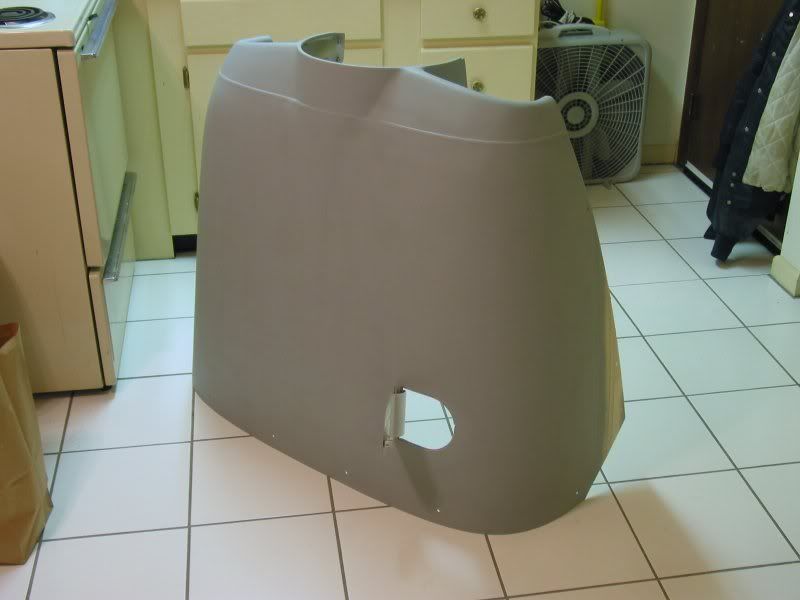 I sanded down the entire cowl with 400 grit paper to remove any remaining wax and give the old paint enough tooth to hold the new. More primer went on the outside. I masked off the trim stripes since I had no readily available paint to match Cessna's fashionable 1974 palette.
 After sanding the primed cowl with more 400 and 600 grit, I started putting on the final coats. Each coat was sanded smooth with 600 grit before the next coat was applied. I put about four coats on in total, and then started the polishing process. I went from 600 up to 2000 grit, wet, and then rubbed it down with 2400 and 3200 grit polishing cloth to get a nice hard gloss. I finished up with a coat of Meguiar's automotive wax. It's not quite a sports car finish, but it's much better than before.
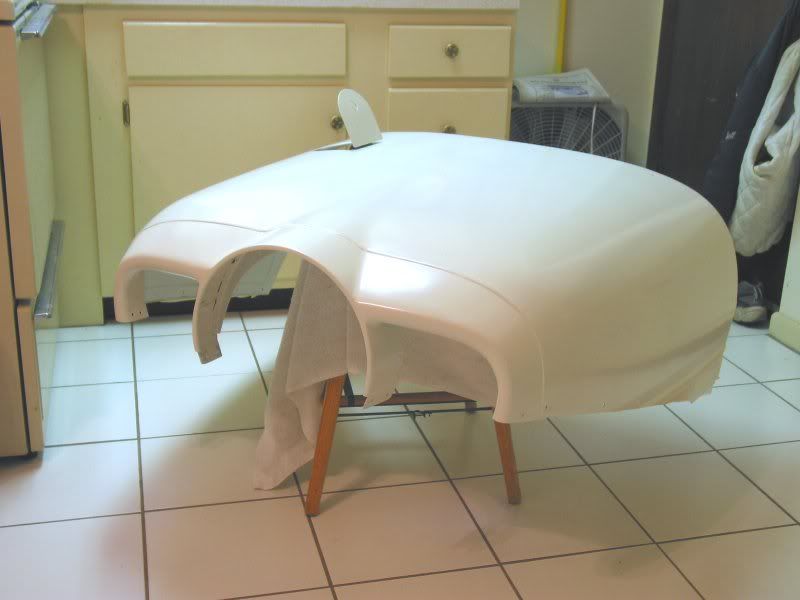
 The Southco fasteners have been reinstalled with fresh retainers and wear washers, and we're ready to put her back together. Shortly, the Bachelor Kitchen will be back in service cooking microwave frozen dinners as intended.
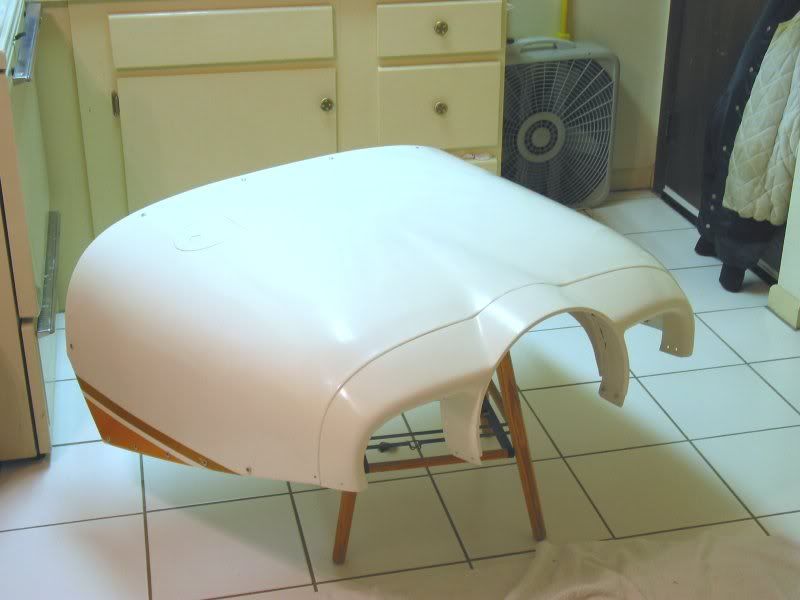
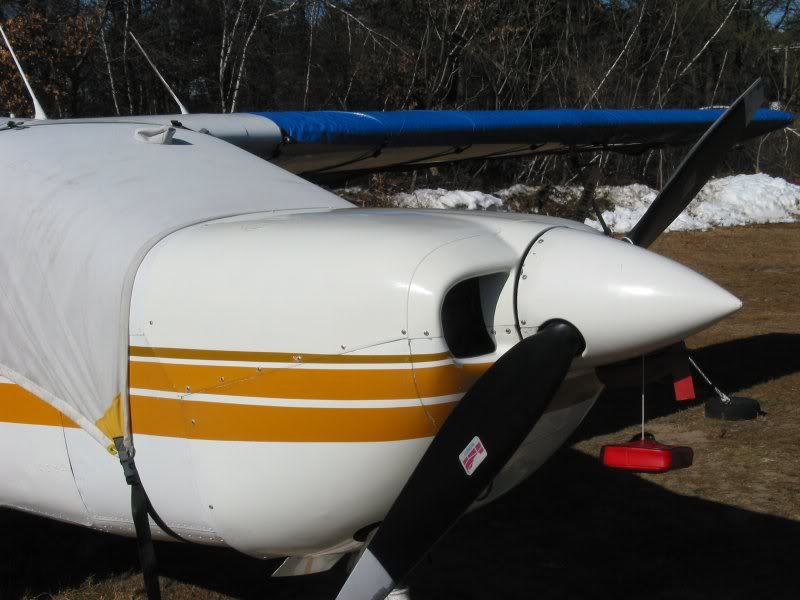 In good light, you can just see that the new color doesn't quite match the old on the lower cowl. White can be a very tough color to match. For what it's worth, neither upper nor lower cowl matched the forward fuselage, which didn't match the rest of the airplane. At least the upper cowl is now only one shade of white, instead of several as before.
 Now the problem is that the upper cowl puts the lower to shame. I'll need more than a couple of weekends to put this in shape. Not only will I have to do some serious fiberglass repair, but I'll have to match and repaint the trim colors as well as the base coat. And then, I may not be able to live with the rest of the airplane looking as it does. I may need a bigger kitchen. And I'll have to figure out how to get her up the stairs without pulling the wings off...

The alodine touch-n-prep pin is hazardous because of the chromate/chromium in it. Hope you took precaution and didn't just throw it away. If it was the 1132 pin, the ingredients are carcinogenic.
Dang, now you tell me.
It did impart a nice golden hue to my spaghetti. Nothing worse than pale pasta... But it did taste a little funny.