Sunday, October 21, 2007
Painting the Engine Room - Part 2
A few years ago, I repainted Yellowbird's upper engine cowling. The project began as an exercise in removing corrosion from the unpainted inner surface of the cowling, but scope creep took over when I realized that the newly cleaned and repainted insides looked noticeably better than the outside, on which a 15 year old repaint and a few subsequent touchups had left several different interpretations of Cessna's original colors. Rather than repaint the entire cowling, I masked off the trip stripes and after sanding and filling some blemishes, I applied a fresh solid coat of white over the weathered base coat. It looked good, maybe not as good as a professional paint shop, but it looked like it could suffice until the budget allows a complete Yellowbird Makeover.
Since then I've had my eye on the lower cowling, which could benefit from the same treatment, but a couple of factors have kept me from starting the project. For one, the lower cowling is significantly larger than the upper, more complex, and far dirtier. Where the upper cowling took a few days spread over two otherwise unflyable winter weekends, the lower would require a greater time commitment. For another, while I could get away with not repainting the trim colors on the upper cowling, (they only amount to a few square inches at the bottom edge), I will have to repaint the trim on the lower, since the stripes cover a significant amount. That means finding a match for Cessna's fashionable and exciting 1794 color palette. I'd heard that any reputable paint show could provide a match, but procrastination, inertia, and the general reluctance to start such a major project kept me from pursuing the matter further.
Now, there are no more excuses. Yellowbird is in the shop to have a cracked crankcase repaired, and the latest word is that it may be another month or so before she's back together. I'd rather be flying, but since I can't, I might as well take the time to get this project finished. I've already done the interior, now it's time to tackle the exterior.
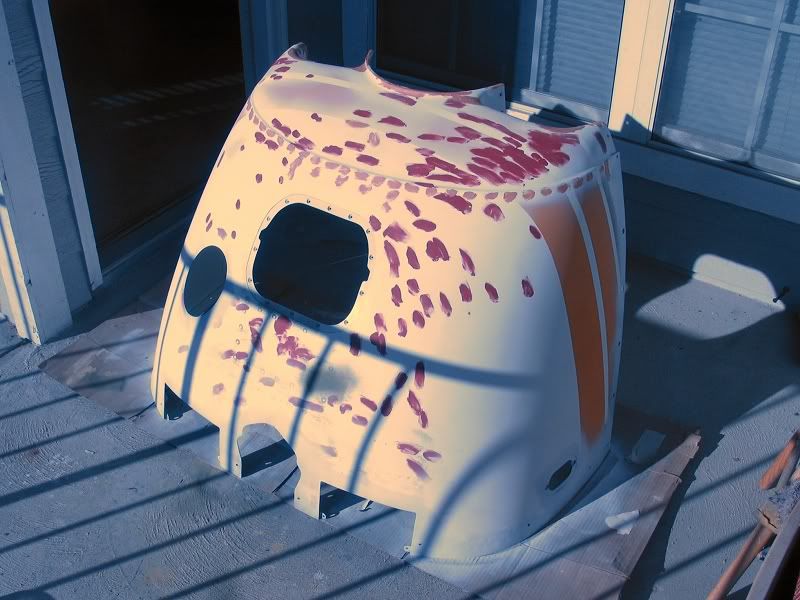 The paint on the lower cowling wasn't as patchy as the upper was before its restoration, but years of propwash have left it battered and scarred form rocks and debris. The damage extended to the fiberglass nosebowl, which was chipped and cracked in places. After cleaning and sanding the exterior, I've used Aeropoxy filler to patch the damaged fiberglass and fill some rivet dimples. Glazing putty fills the lesser chipped spots.
 There was some corrosion under the paint, particularly around the cowl fasteners and exhaust opening. The Scotch-Brite wheel removes the paint and corrosion, and the resulting bare patches are treated and primed.
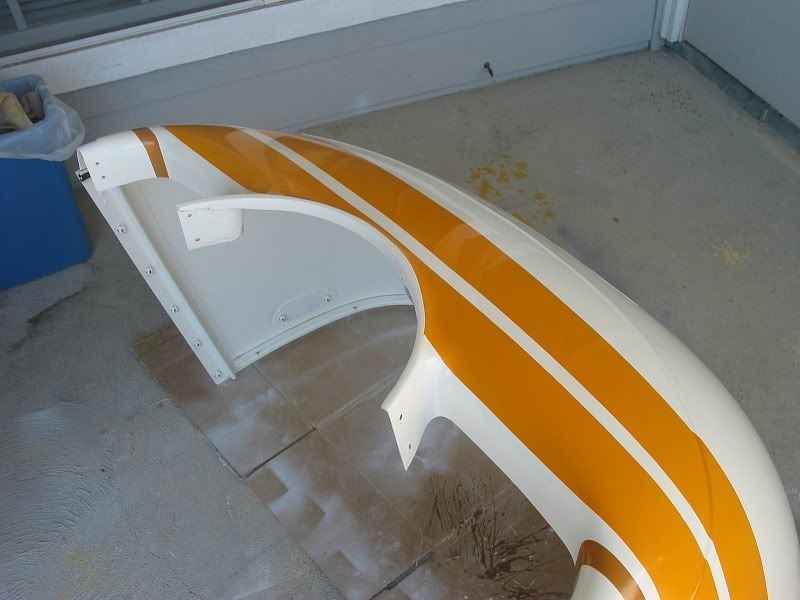
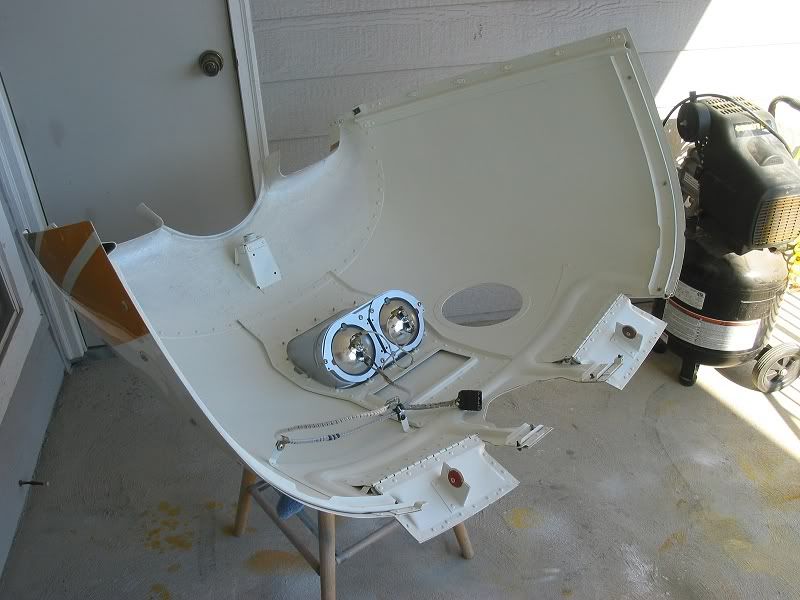
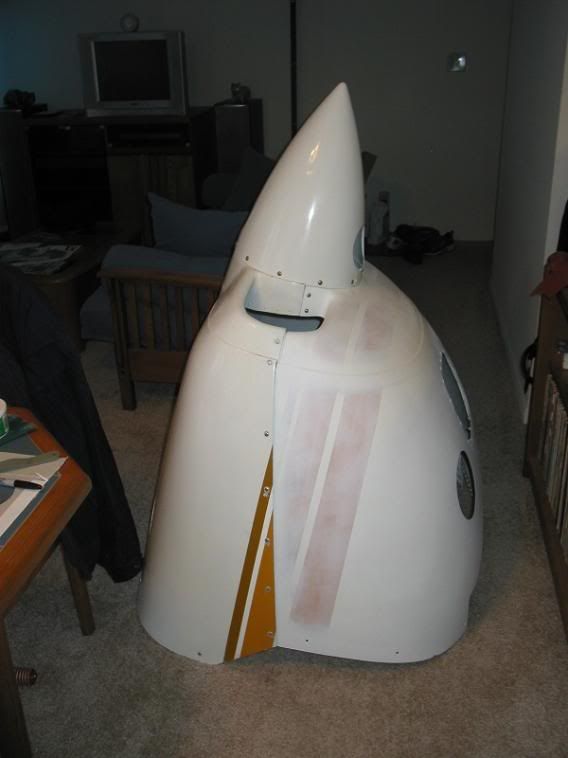 I could have stripped the entire cowling, but then I'd have to relocate and mask the trim stripes. It's much easier to leave the old paint on and use the existing demarcation lines to place the masks. Just to be sure that they'll match up with the rest of the airplane, I've brought the upper cowling home to help locate the masks. I didn't need to put the spinner on top, but It's been a while since I've been able to admire the graceful lines of a Cardinal nose.
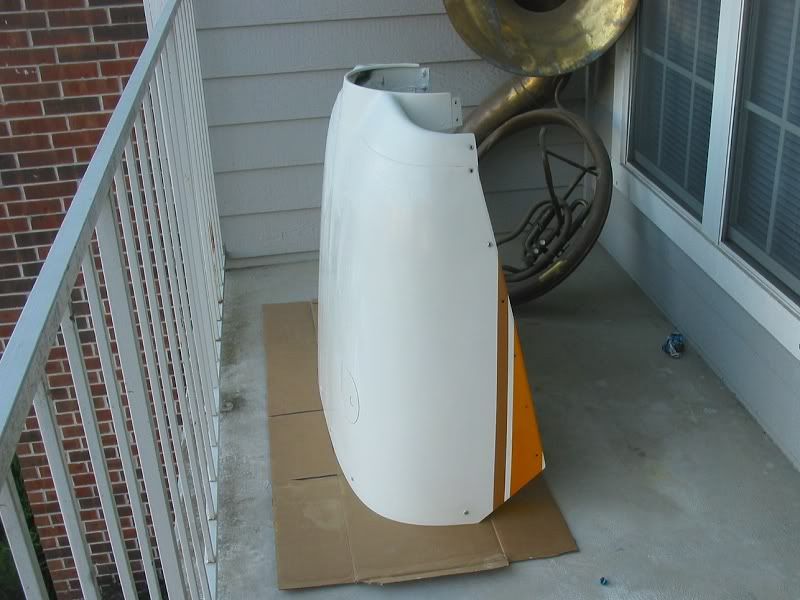
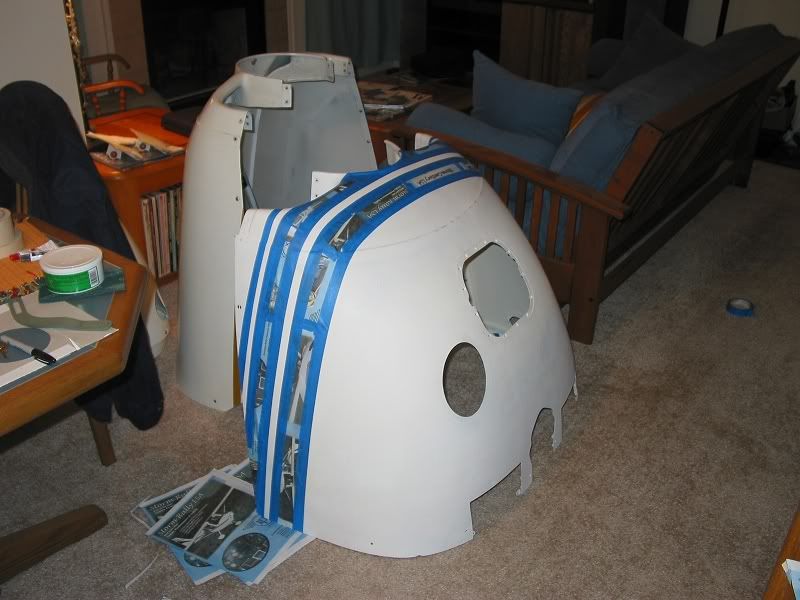 Masks in place for painting the base coat. I normally use old issues of Atlantic Flyer for masking, but all the FBO had were some LSA brochures. They'll do, but I miss reading Smilin' Jack. And I'm getting used to having airplane parts in the dining room.
 After carrying one of the tailcone access panels around to four different paint stores, I was despairing of ever finding a match for Cessna's Tiger Yellow. It's a dark yellow, but still very strong. Every place that tried to match it came up with something close in overall hue, but noticeably muddy. Adding measured amounts of black, red and green pigments to the basic yellow darkened it, but also toned it down. Even with computer matching, the closest they could do was a mustard yellow. Finally, I found a shop that specializes in paint matching for auto body shops. Whatever they had, it did the trick. Armed with a quart of fresh Tiger Yellow and a pint of Summer Gold, I was ready to paint.
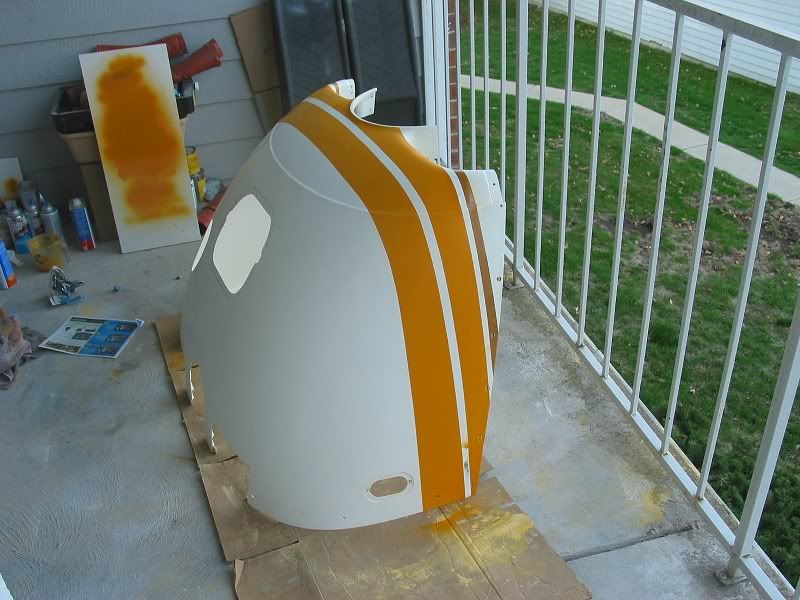
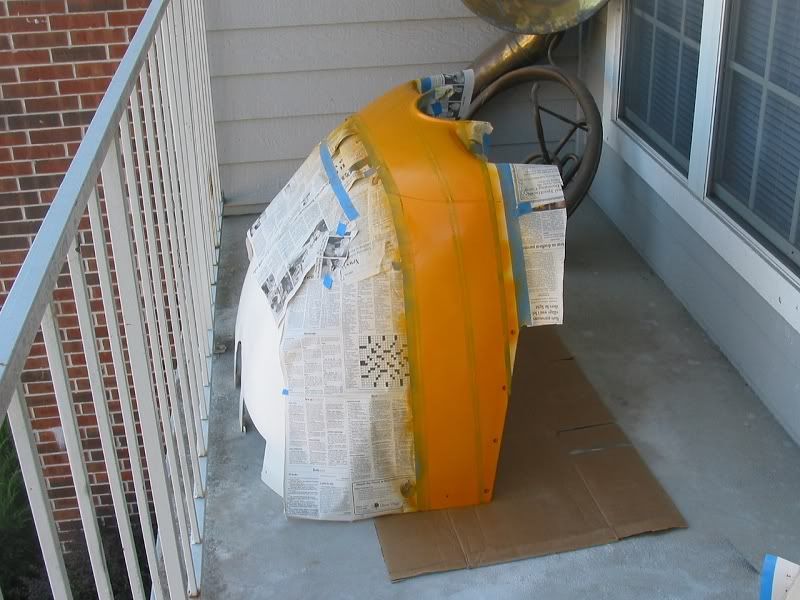 The base coat is done and masked, and the trim goes on. It's a two-part acrylic enamel, and I tried a few test sprays on an old bookshelf before painting in earnest.
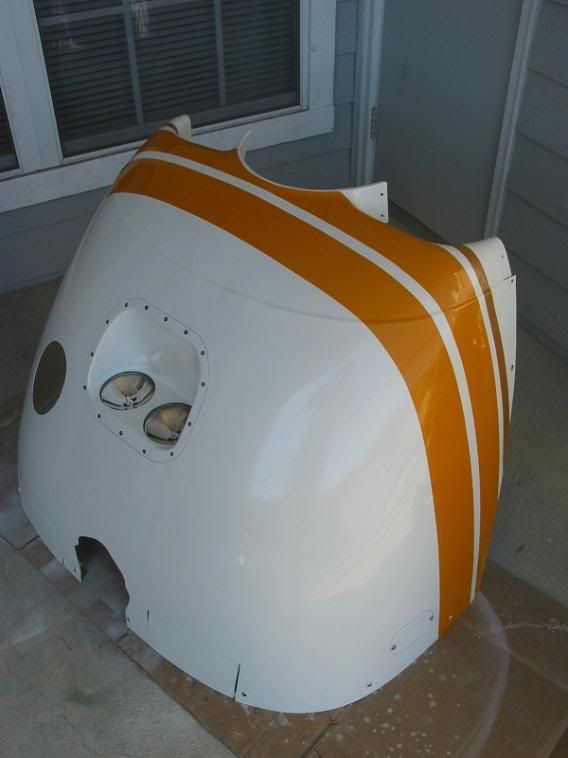
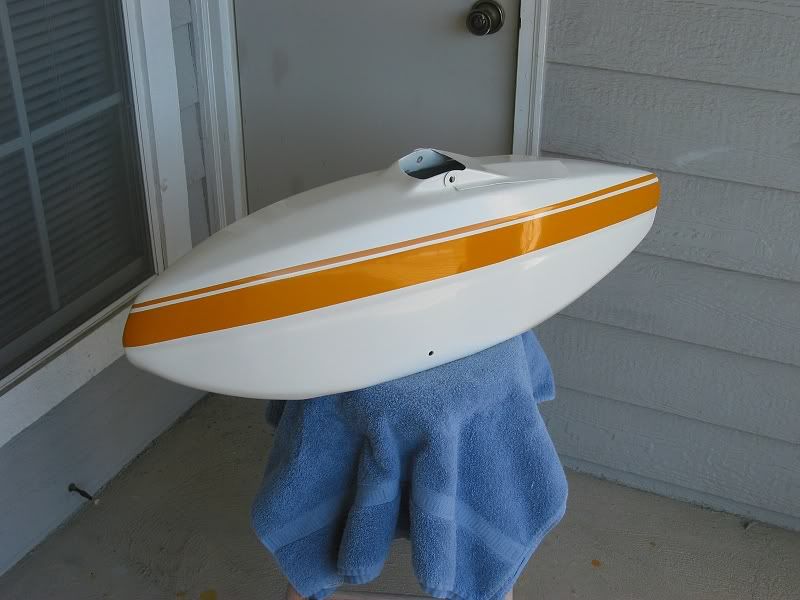
 Both colors painted, and masks removed. There's some overspray to touch up, but it's looking pretty good so far.
 I might as well do the trim on the top while I'm warmed up.
 Back together and all polished up. This is a good time to replace the hardware so she gets fresh Southco cowl fasteners and new screws for the landing light housing. Compare to this.
 I wish I had a good picture of the lip area before it was rebuilt. This really looks good. I'm feeling pretty smug about my painting talents.
 The inside, nice and clean and shiny. You could eat off of this cowling.
 The landing lights get all new gaskets and hardware. I'm still trying to track down the small #6 speed nuts that hold the brackets together (I was missing one, and two others were cracked). The part number in the Cessna parts catalog doesn't show up in any of the local shop's catalogs and an online search turned up only one outfit that never responded to my inquiry. I'll keep looking, but until I find replacements, I may use #6 machine screws and stop nuts.
 And at last, the nosewheel pant is finished.
Well, that's it for the home projects. I've done as much as I can - now all that's left to do is sit back and wait for my engine.

Hi--
I'm from http://www.intoflight.com, which is a new site for private pilots.
I would love to speak with you about a partnership. I can be reached at jfraser@intoproductions.com.
Best,
J. Fraser
That's beautiful. I need to come over and spend some time reading through this. I should definitely send anyone I know considering buying an airplane here!
Just wanted to say GREAT job on your painting. I need/want to do some of the same things to my airplane so this was a great read before i start. What type of paint did you use? I see on the upper cowling, you used a gloss acrylic lacquer but didn't really say on the bottom except it was a two-part acrylic enamel on the stripes. Any info would be great. buddy300@tampabay.rr.com